Installing iDÉES
![]() application is developed on the platform of Microsoft Access 2010 and can work on later versions. So before installing this application, Microsoft Access 2010 or later must be installed on the Server and the Clients and first run of them must be done once.
application is developed on the platform of Microsoft Access 2010 and can work on later versions. So before installing this application, Microsoft Access 2010 or later must be installed on the Server and the Clients and first run of them must be done once.
The iDEES is very simple to install. There are two setup file, one for the Server and another for the Client. Normally iDEES will be delivered by a hardware key (Dongle) so drivers of this key must be installed and start which is done automatically by installer itself.
All these installations must be done by Administrator user of windows (IT persons) and they must run iDEES for the first time by their admin user.
Server Installation:
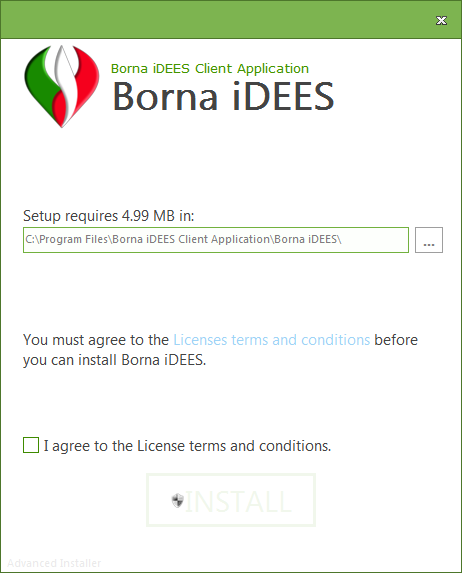
For the Server, there is a setup file called 'Server_Setup.exe' in the installation package. By double clicking on it, installing will be start like below snapshot:
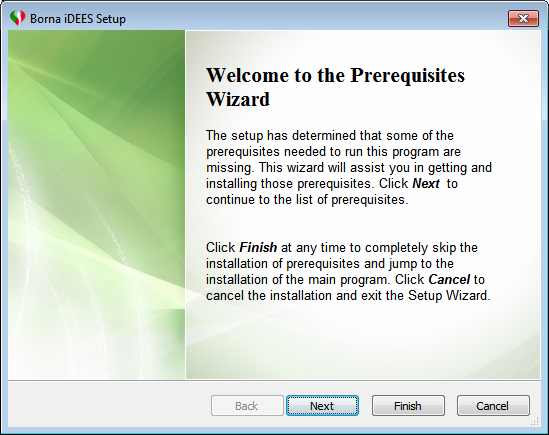
Firstly, setup file installs prerequisite service for Dongle and user must follow this wizard. The next step is as follows:
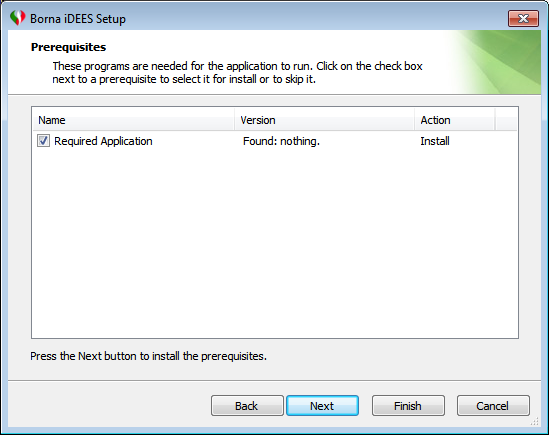
Without any change, just click the Next button to Un-install/install SCT service for the Dongle and then following form will be shown:
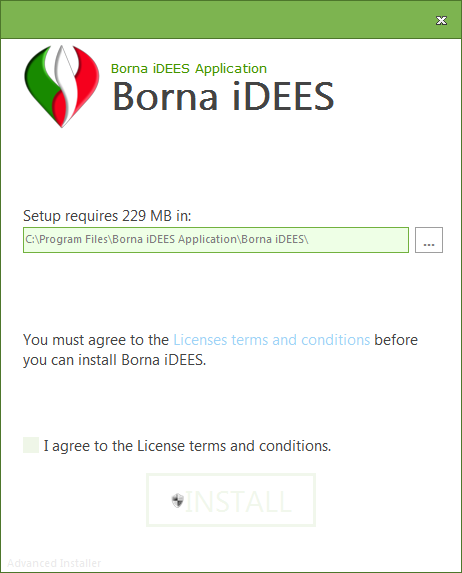
If user needs to install in another location, he/she can change it by  , and after check the
  the
the  will be enabled to let user to install. After successful installation of the Server following form will be appeared :
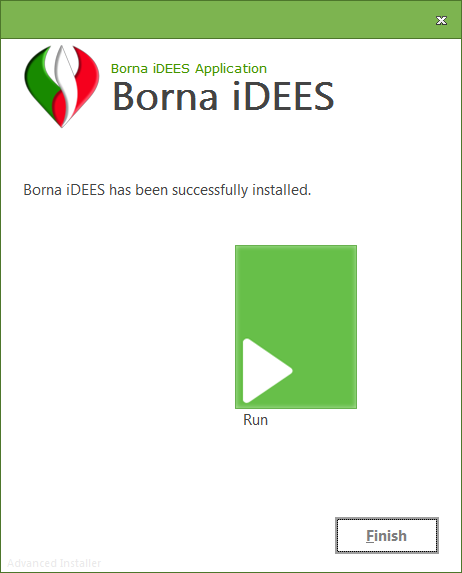
Then user can start Registering iDEES .
Client Installation:
For the clients another setup file exist in the installation package called 'Client_Setup.exe'. By double clicking on it, installation will be started like follows:
If user needs to install in another location, he/she can change it by , and after check the the will be enabled to let user to install. After successful installation of the Clients, following form will be appeared :

Now iDEES has been installed on both Server and Client and ready to start. Enjoy it.
Note:
Sometimes, because of some unknown reasons, it is required to register Activex control of Dongle manually. So in this case just do the following steps:
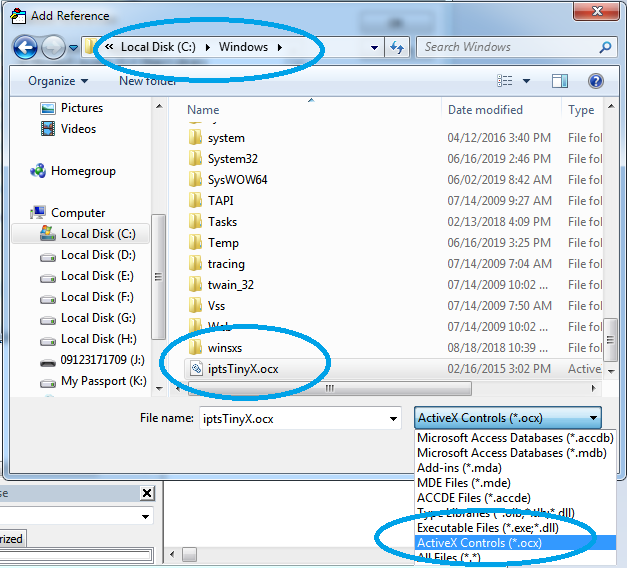
1.In both Windows 32X or 64X, just copy "TinyX86.ocx" from the provided installation CD in the installation path of Windows for example "C:\Windows".
2.Then rename it to "iptsTinyX.ocx".
3.By the following command in the CMD.exe which is runs as administrator, this activex must be registered:
oregsvr32 /s iptsTinyX.ocx
(it maybe needs file path like this: regsvr32 /s C:\Windows\iptsTinyX.ocx )
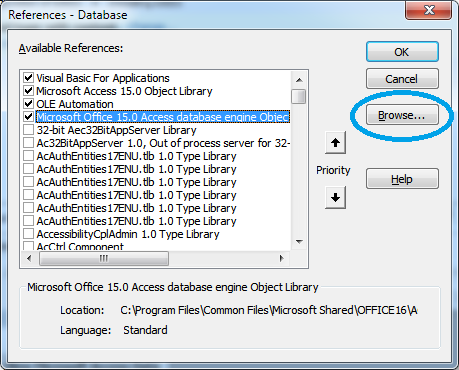
4.After registration, it must be referenced in the empty MS Access file so and empty database file (*.mdb/*.accdb) file must be opened and as shown in the below snapshots, it can be referenced:


and finally:
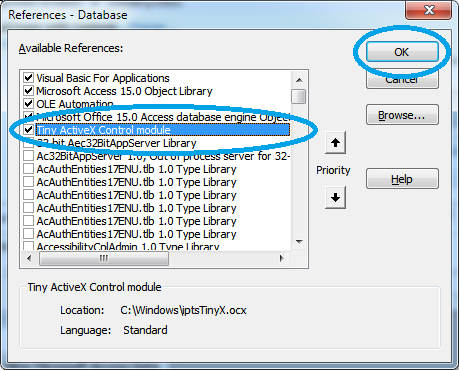
and then close the empty file. By the above mentioned steps, iDEES can detect its dongle and pass the security check when it is required in the loading.
Created with the Personal Edition of HelpNDoc: Easy CHM and documentation editor