Input Data Revision Form
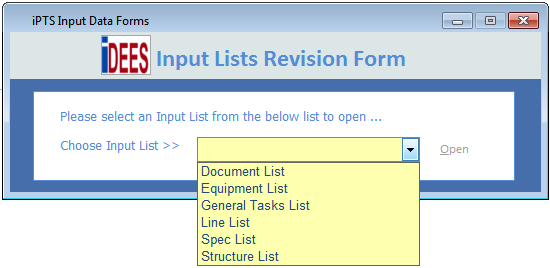
By this tool, Admin can see a full utilized form to revise any data in the main tables. The following snapshot shows selection form after a confirmation on Admin password:
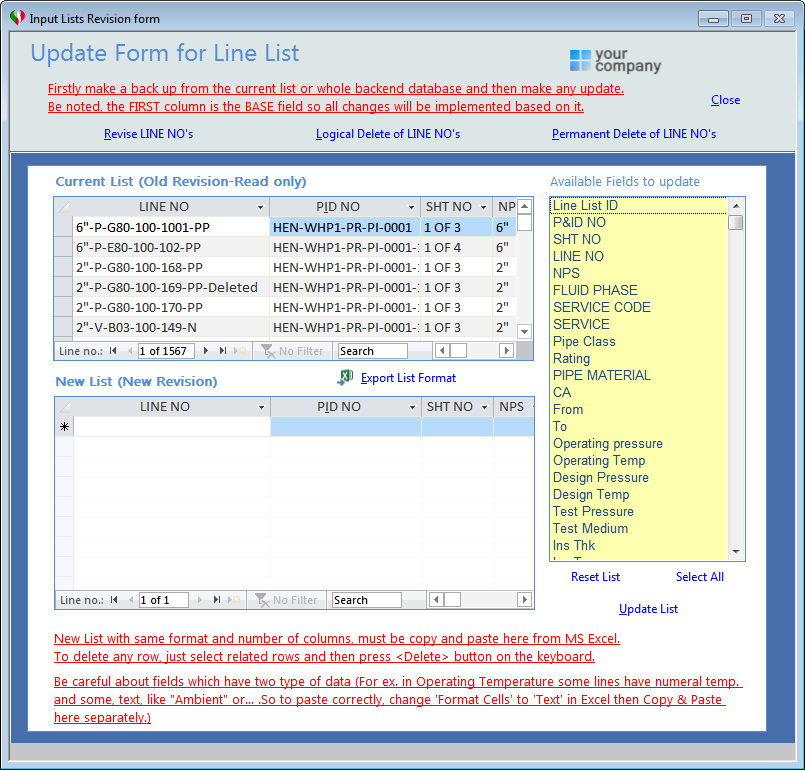
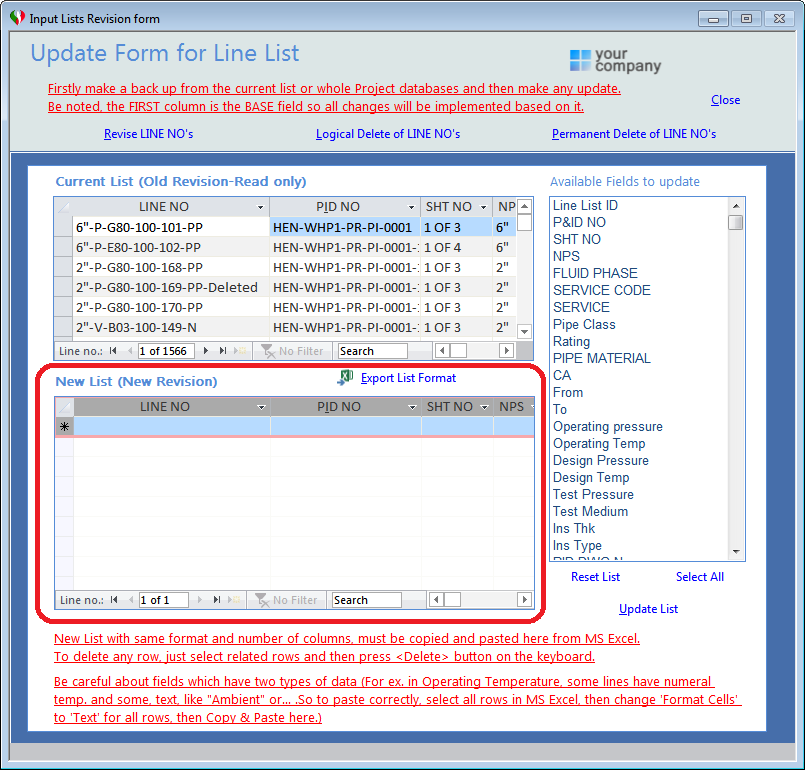
After choosing the input table, the following form will be shown for the related table(here is sample for Line List):
Important Notes:
Firstly make a back up from the current list or whole Project databases and then make any update.
Be noted, the FIRST column is the BASE field (*) so all changes will be implemented based on it.
New List with same format and number of columns, must be copied and pasted here from MS Excel.
To delete any row, just select related rows and then press <Delete> button on the keyboard.
Be careful about fields which have two types of data (For ex. in Operating Temperature, some lines have numeral temp. and some, text, like "Ambient" or... .So to paste correctly, select all rows in MS Excel, then change 'Format Cells' to 'Text' for all rows, then Copy & Paste here.)
(*) What is the Base Field:
The Base filed actually us the main field that will be considered as reference for all changes. For example in the Line List, 'LINE NO' is the base field and all fields can be changed based on this field. In all input tables the base field is as follows:
Main Input List |
Base Field |
Document List |
Document Number |
Equipment List |
Tag No |
General Tasks List |
Task Desc |
Line List |
LINE NO |
Spec List |
Pipe Class |
Structure List |
Tag No |
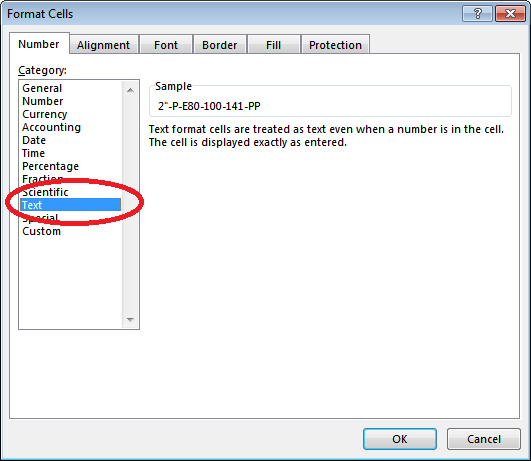
To use this form to revise all previous data, first step is using  to export empty format of input data to the MS Excel. Then admin user must fill up all required columns in this format. It is not required to fill up all columns, just them that user have data. After filling up, user must select all rows (CTRL+A) and then right click and then select 'Format Cells...' in the shortcut menu. Then select 'Text' in the category list like below snapshot:
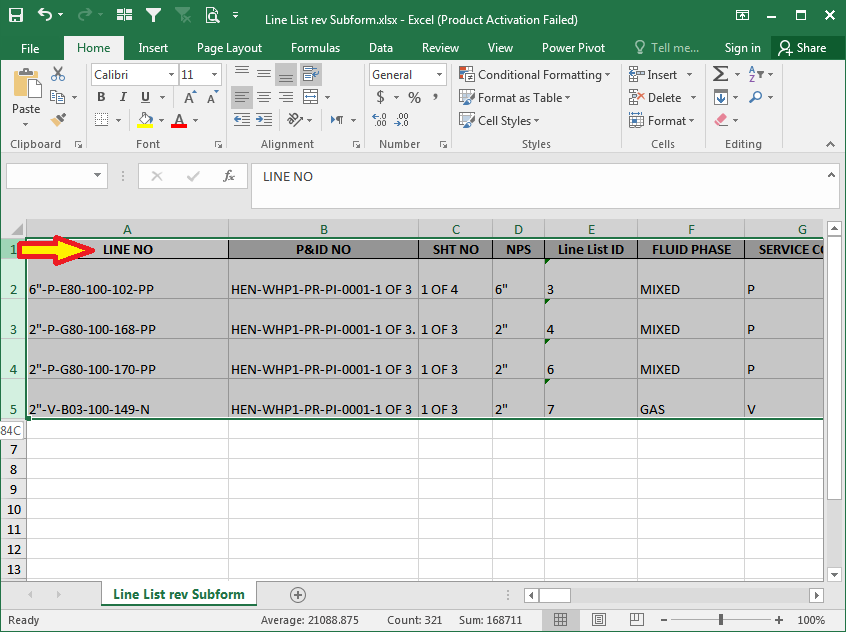
Then the next step is to copy and paste all rows from Excel to the 'New List' space.
Note: Here, for the better performance or avoiding any problem, Admin can select header (first row) of excel file as well as other rows.
And the last step is to select all revised fields form the 'Available Fields To Update' list:
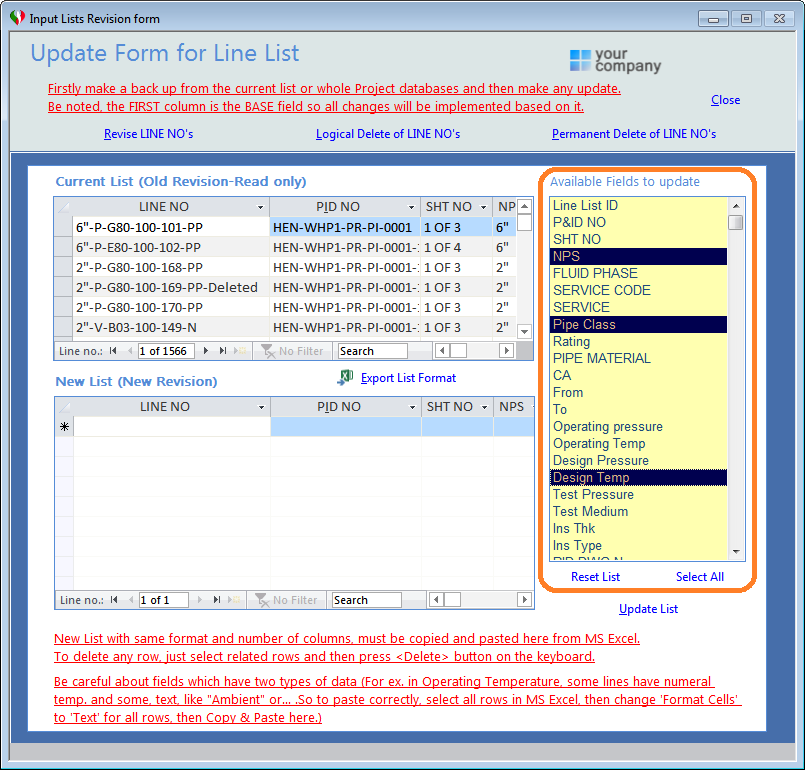
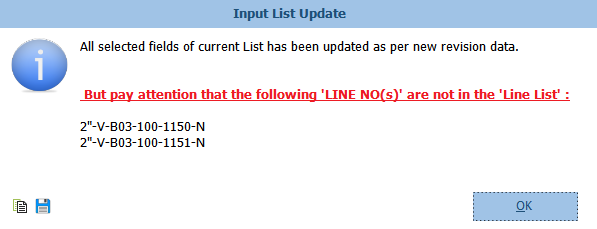
Admin user must note that he/she SHALL select ONLY required fields not all fields at all. If a filed is selected by mistake, it could empty that filed for all items. After selecting,  key update all items with selected columns. if some items are not in the current input list the following message will be shown to user(for example for some line numbers):
In the above form there are some useful buttons which are described as follows:
 By this key, user can revise BASE field in all main input tables. In the Line List for example, this key revise 'LINE NO'. Sometimes it is required to revise base filed as well. If count of revise is low, power users can revise base filed from the Details forms (see here Details Forms) but if there were a lot of changes, this key can changes all. The following snapshot shows the facility:
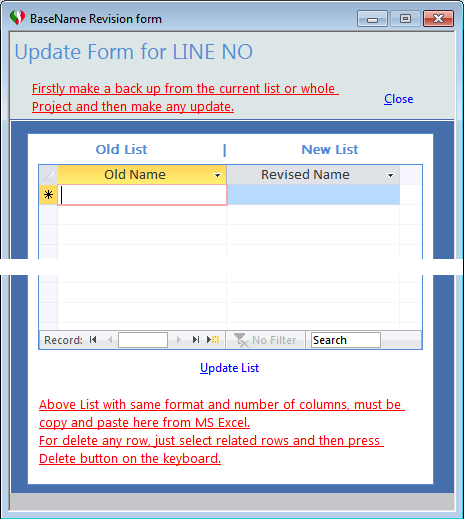
In this form, admin user just copy & paste two columns from MS Excel which contain in the first column, OLD name and in the second one, Revised (NEW) name. After importing from Excel, just by clicking on the  , all Revised (New) names will be replaced by OLD names. If user enter some invalid names that are not exist in the current project, the following message will be shown to user:
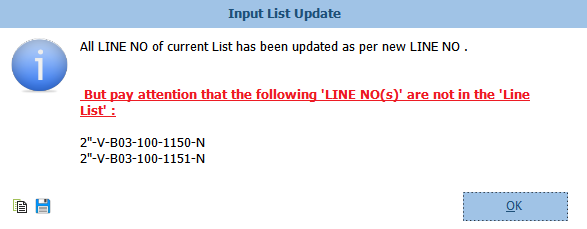
This will help user to manage these mentioned lines.
 By this key, user can delete BASE field logically in all main input tables. In the Line List for example, this key delete 'LINE NO' logically. Sometimes it is required to delete base filed as well. If count of deletion is low, power users can delete base filed from the Details forms (see here Details Forms) but if there were a lot of deletions, this key can delete all logically. The following snapshot shows the facility:
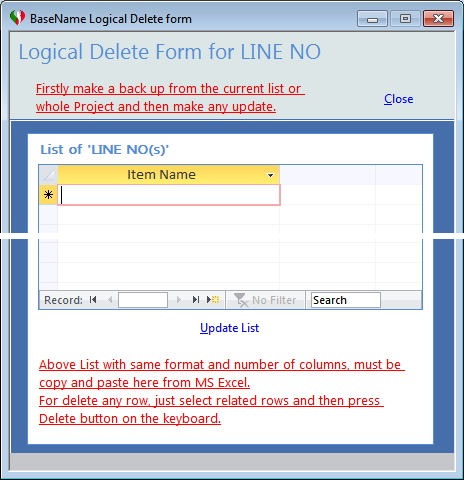
In this form, admin user just copy & paste one column from MS Excel which contains name of items. After importing from Excel, just by clicking on the , all imported names will be deleted logically. If user enter some invalid names that are not exist in the current project, the following message will be shown to user:
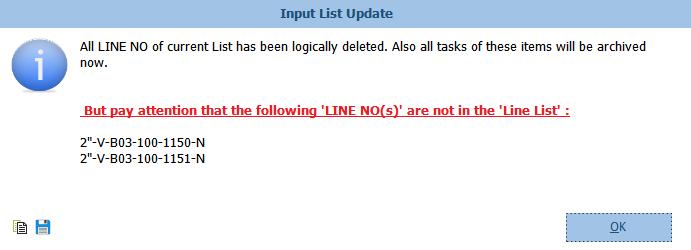
This will help user to manage these mentioned lines.
 By this key, user can delete BASE field permanently in all main input tables. In the Line List for example, this key delete 'LINE NO' permanently. Sometimes it is required to delete base filed as well. If count of deletion is low, power users can delete base filed from the Details forms (see here Details Forms) but if there were a lot of deletions, this key can delete all permanently. The following snapshot shows the facility:
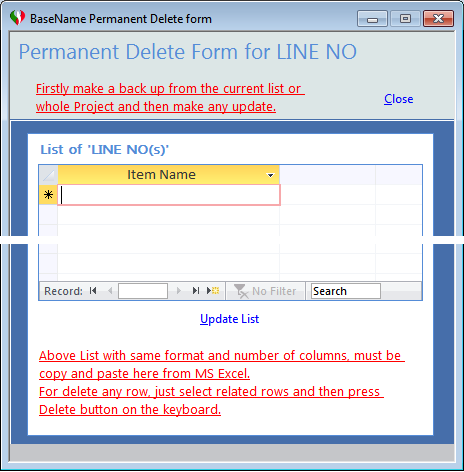
In this form, admin user just copy & paste one column from MS Excel which contains name of items. After importing from Excel, just by clicking on the , all imported names will be deleted permanently. If user enter some invalid names that are not exist in the current project, the following message will be shown to user:
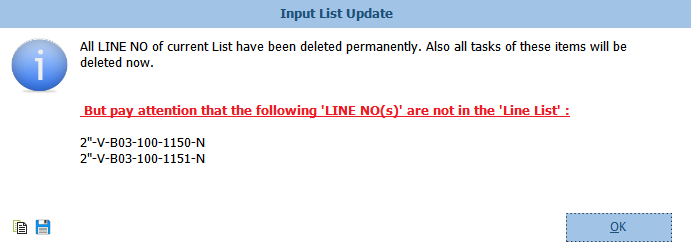
This will help user to manage these mentioned lines.
Note:
Admin users must note that when an item like Line Number is deleted permanently, all related tasks related to it must be deleted, so by this tool, after deletion of any item, all related tasks of that will be deleted permanently without any prior notice.
Created with the Personal Edition of HelpNDoc: Free EPub and documentation generator